


Are you considering a loft conversion? Then you are not alone, as the popularity of loft conversions has increased ten-fold in recent years, with more and more of us eager to utilise the space above our heads to create an extra bedroom, office or hobby den.
If you are planning to move one day, then a loft conversion could potentially add up to 20% to your property’s value. Excited as you may be at the possibilities a loft conversion can offer, it is important to first know whether it’s a viable option.
Is a Loft Conversion Right for Me?
The standard head height for a loft conversion is 2.2M, which is easy to measure yourself, while equally as important is having sufficient room on the floor below for the stairs.
There is a lot of variety when it comes to loft conversions. The style you have will depend on your property type, budget and the pitch of your roof. A good way of gauging loft conversions is to take a walk down your street, as you are likely to see at least one example for inspiration.
Having done your homework – you are ready to take the next step, but what does a loft conversion entail? To help, we have put together our guide for the loft conversion process.
How to Convert a Loft
1. Inspecting the Loft
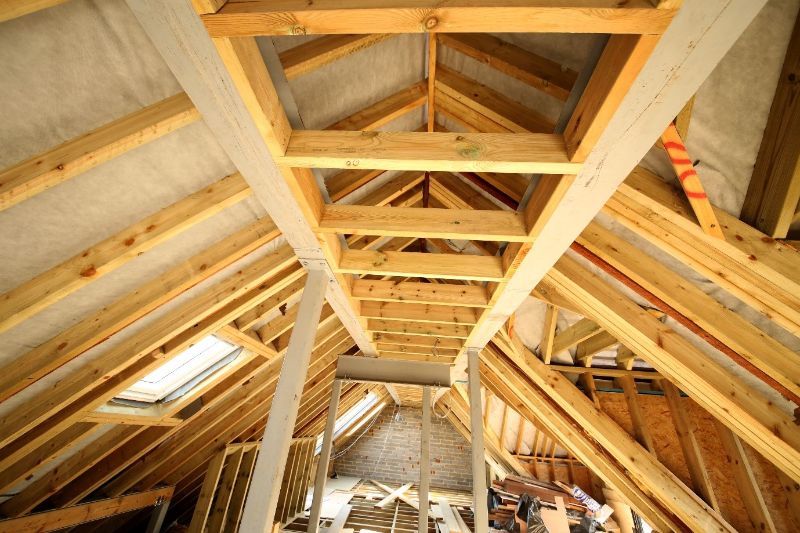
Your loft will be inspected for suitability and to identify any structural obstacles that might make the conversion more complicated. Examples of obstacles include chimney stacks, water tanks and the actual roof.
Roof trusses, instead of rafters, can make a loft conversion costlier and more labour-intensive, as they often require additional structural support. A surveyor or architect is usually necessery to determine whether a loft conversion can go ahead.
2. Design
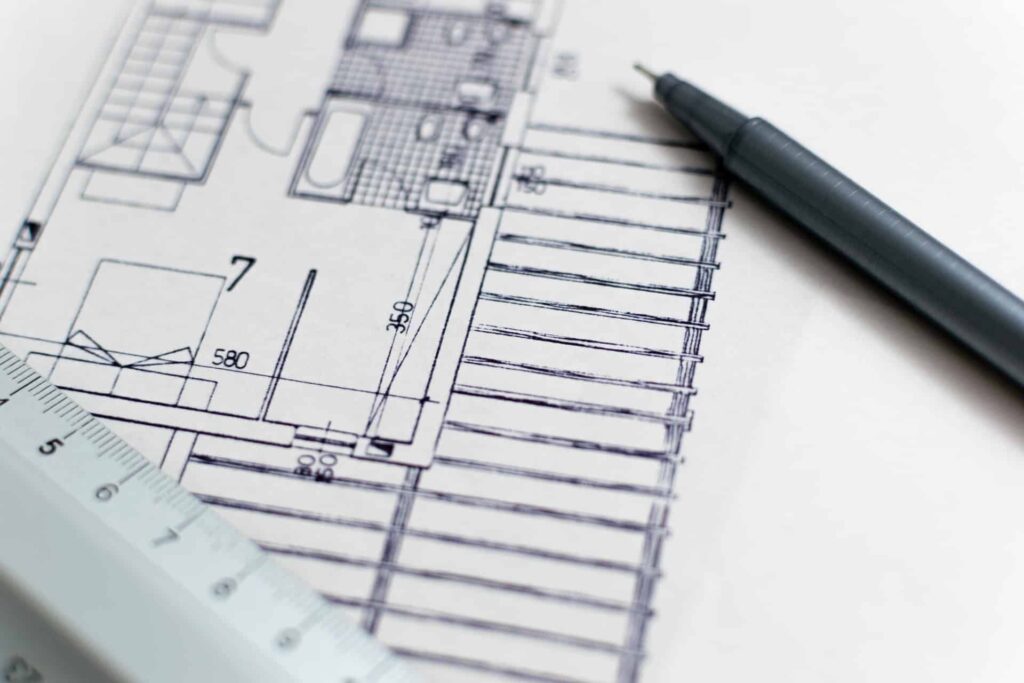
Design plans are drawn up by a surveyor or architect and usually include the costs involved. This process can typically take between 2 and 4 weeks. It is also at this stage a decision is made as to what type of loft conversion you are having.
Below are four popular examples of loft styles:
Roof Light
- The quickest and most cost-effective way to create a loft conversion
- Only need to add skylight windows, flooring and a staircase
- Not as spacious as other types of loft conversions as you will not gain any additional floor room
- Unlikely to require planning permission
- Can take up to 4 weeks to complete
Dormer
- The most popular type of loft conversion
- Protrudes outwards from your roof
- Suitable for almost any property with a sloping roof
- More labour-intensive than roof light conversions but cheaper than hip-to-gable or mansard conversions
- Can take 4-6 weeks to complete
Hip-to-Gable
- Created by extending a side roof (hip roof) outwards to create a vertical side – increasing the internal floor space and headroom
- Suitable only for detached and semi-detached properties
- People with detached properties could have a hip-to-gable conversion on both sides
- Tend to look more natural than dormer conversions
- Can take up to 6 weeks to complete
Mansard
- The costliest type of loft conversion but also offers the most generous amount of extra space
- Run across the entire length of your roofline
- Suitable for most property types
- Will significantly alter the appearance of your property
- Can take up to 8 weeks to complete
3. Planning Permission
Most loft conversions do not require planning permission, though it is always best to check. Any structural changes to your home must still adhere to building regulations, which a surveyor or architect can advise you on.
4. Clearing the Loft
Now the time has arrived to prepare for the loft conversion. The loft should be completely cleared with any obstacles removed and stored in a safe place whilst the work is carried out.
5. Body of Building Work and Insulation
The main body of work is ready to get underway. Insulation and flooring are laid and the roof is re-enforced. Dormers are added, if applicable, while roof lights and any Juliet balconies are installed, as well as the staircase.
Additional insulation is completed, partition walls erected, re-wiring carried out and water supplies and central heating access points created. The walls are plaster boarded while skirting boards are also added. Finally, fixtures and fittings, like plug sockets and air vents, are installed to complete the building stage of your loft conversion.
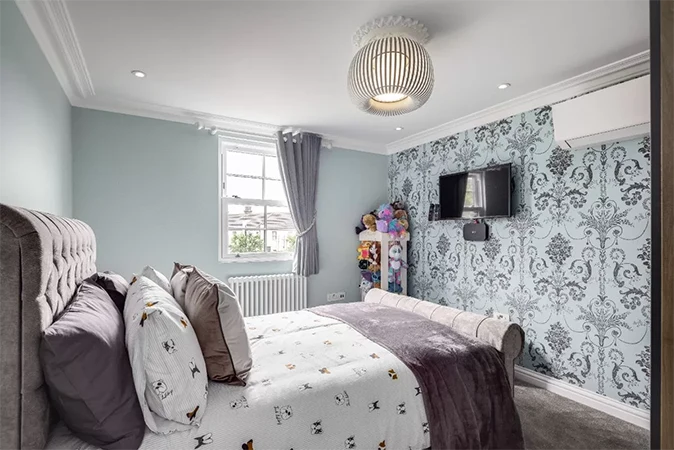
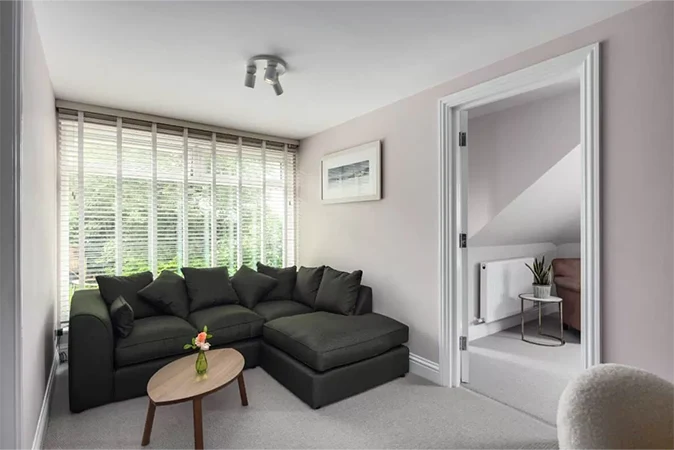
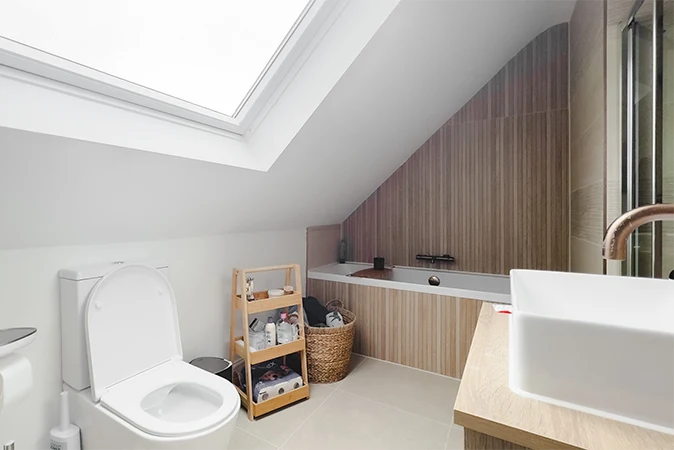
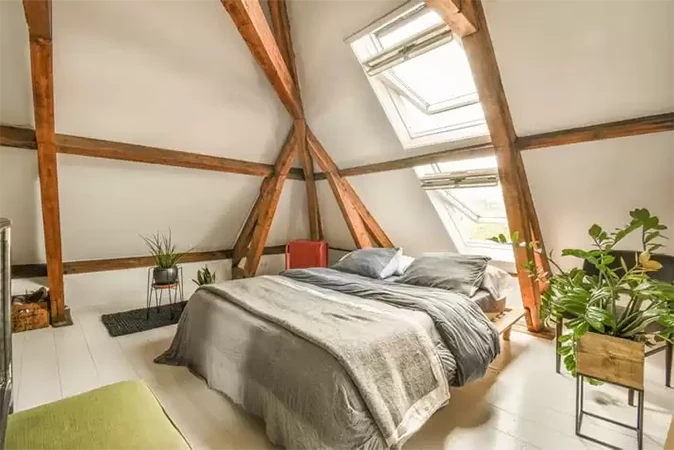
6. Decorating and Furnishing

Now the fun part – you get to decorate and furnish your loft conversion to your taste. Remember, bright colours will help give the illusion of more space whilst you can place low-lying furniture under the eaves to maximise your floor plan.
Congratulations – your loft conversion is complete and ready for you to enjoy.
Loft Conversion Process: Final Thoughts
We hope our guide to the loft conversion process has given you a better understanding of what the process involves. Now you know how to convert a loft, you can get started on creating your dream space.
No one loft conversion is the same, but the team here at LMB Group will be here every step of the way. As loft conversion specialists, we offer a wide range of loft conversions, including mansard, hip-to-gable, dormer, and others. Why not get in touch with us today to find out more?